
Last year my sister got a loop made with Manos del Uruguay’s Silk Blend (Luisa).

This year I also made her a matching hat of from the same wool upon request as a thank you for proof reading my Master’s thesis.

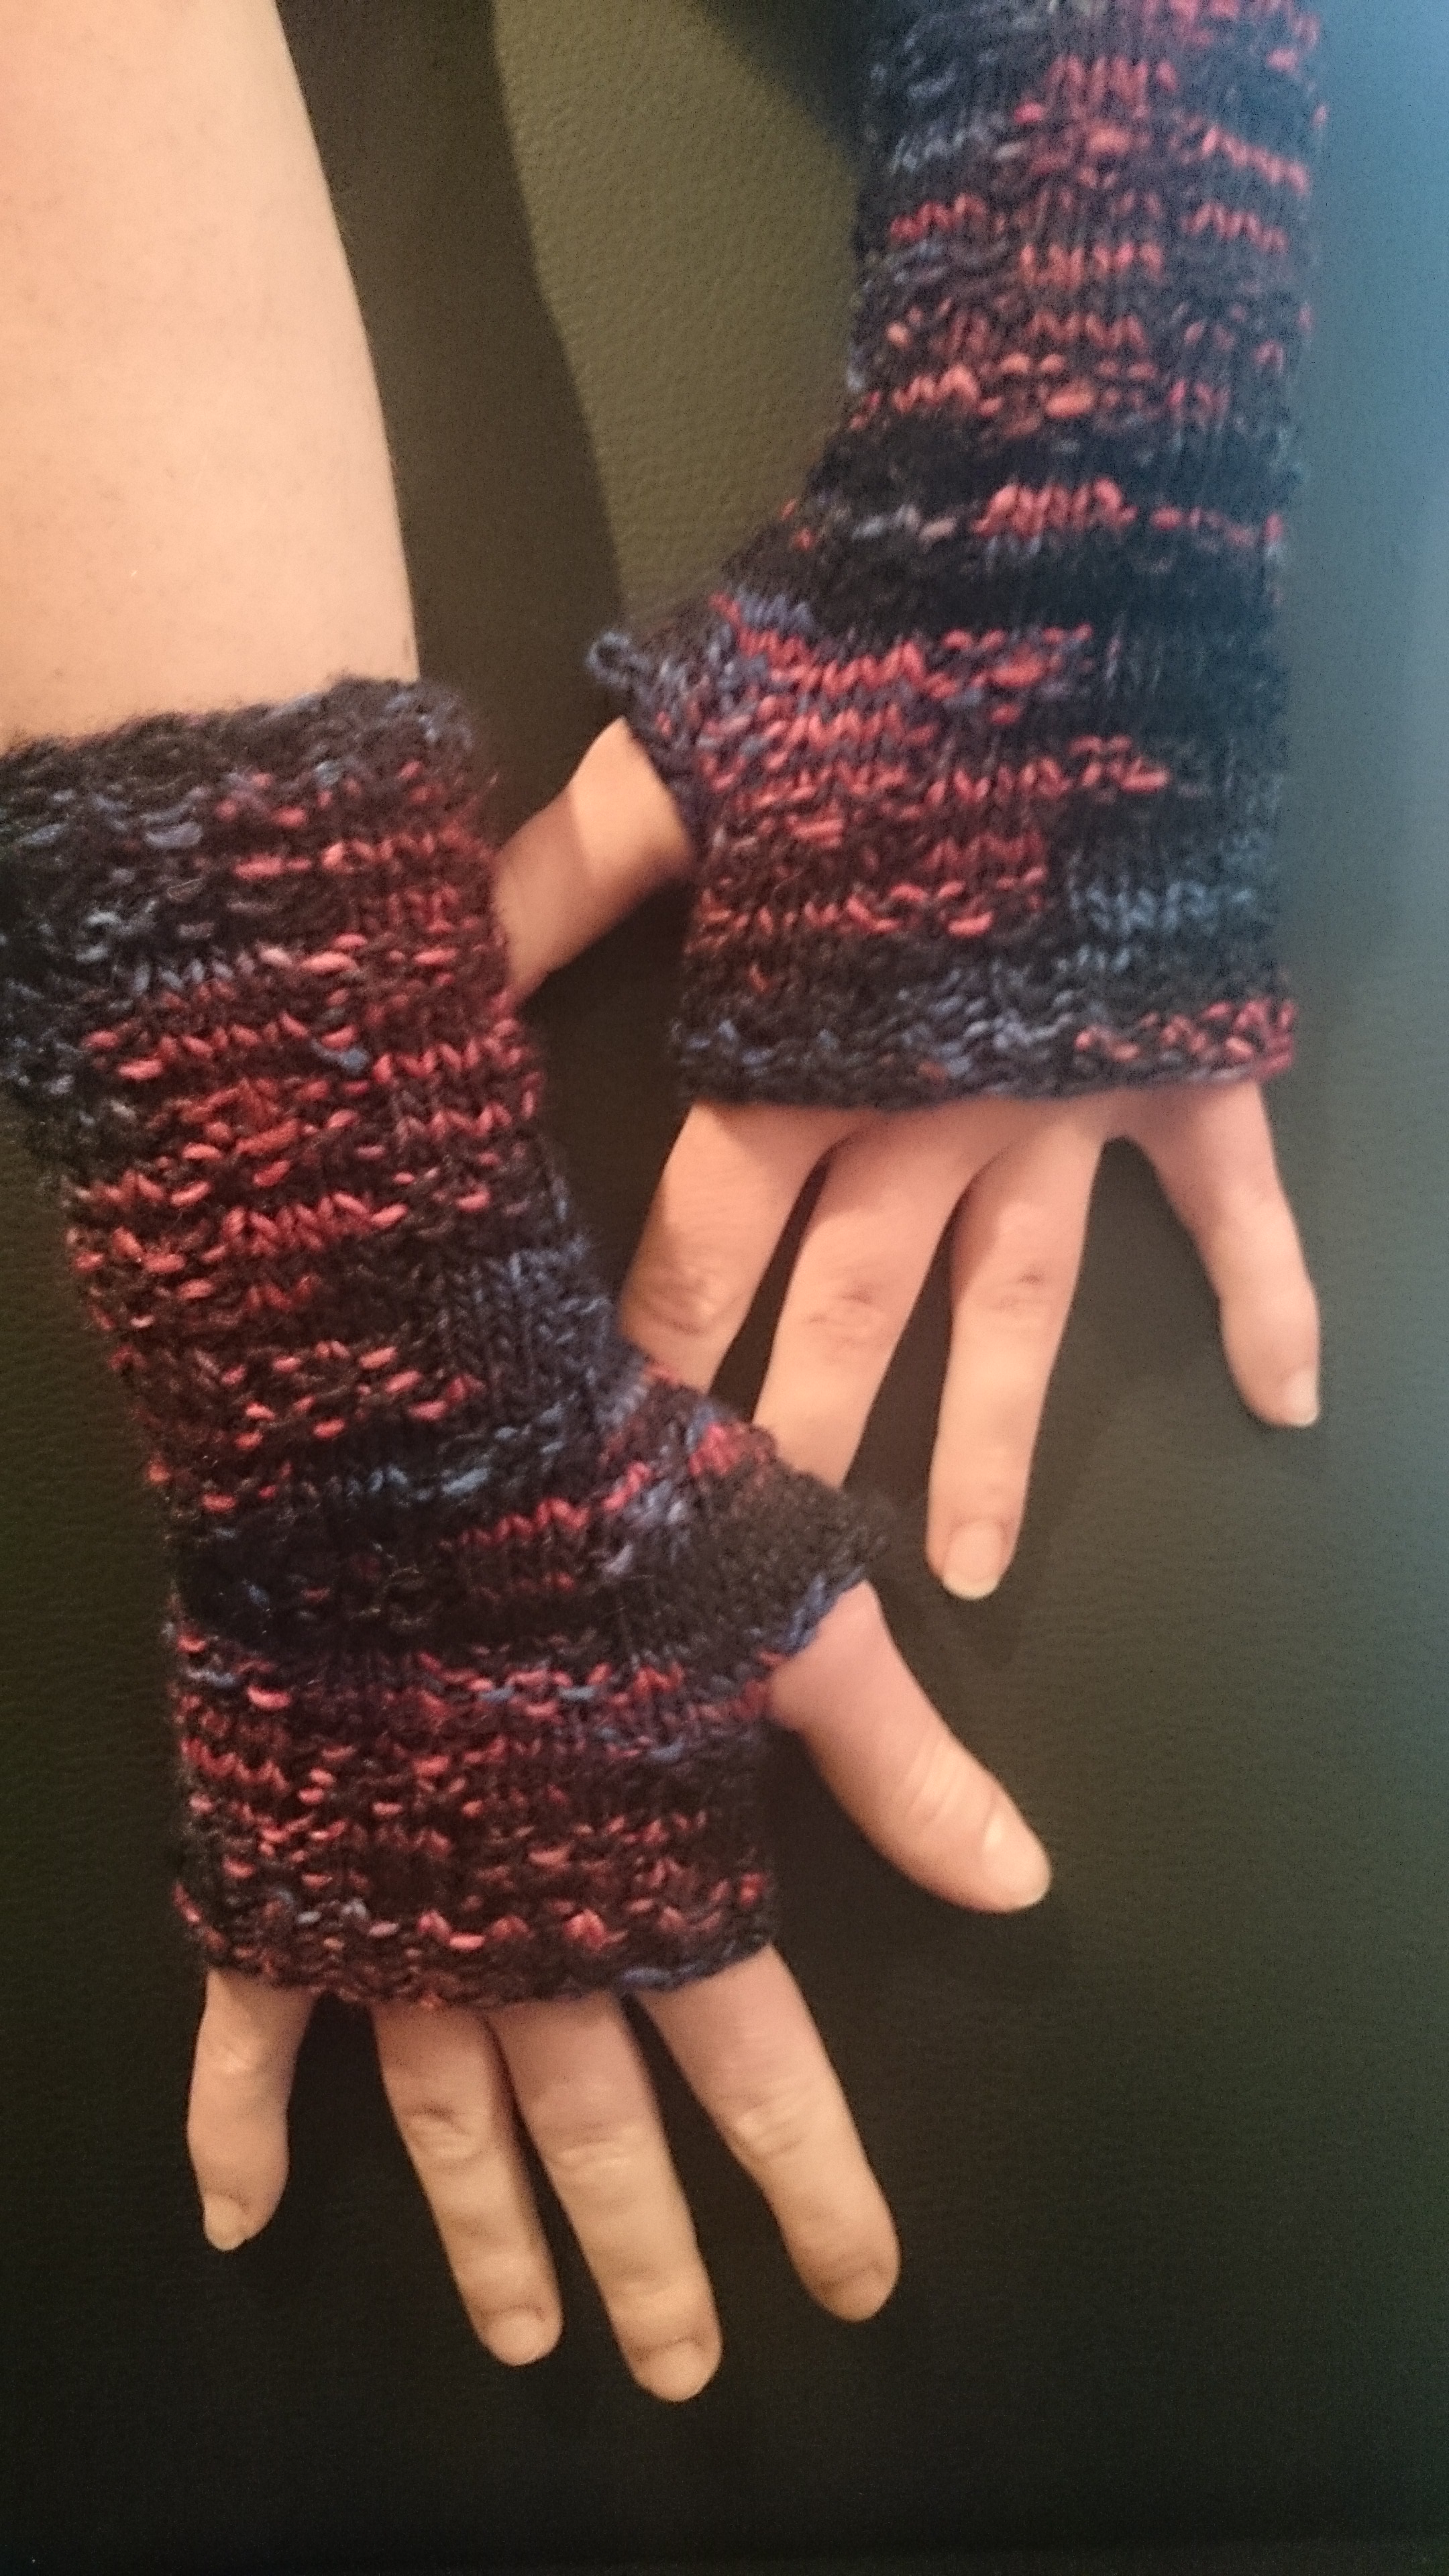
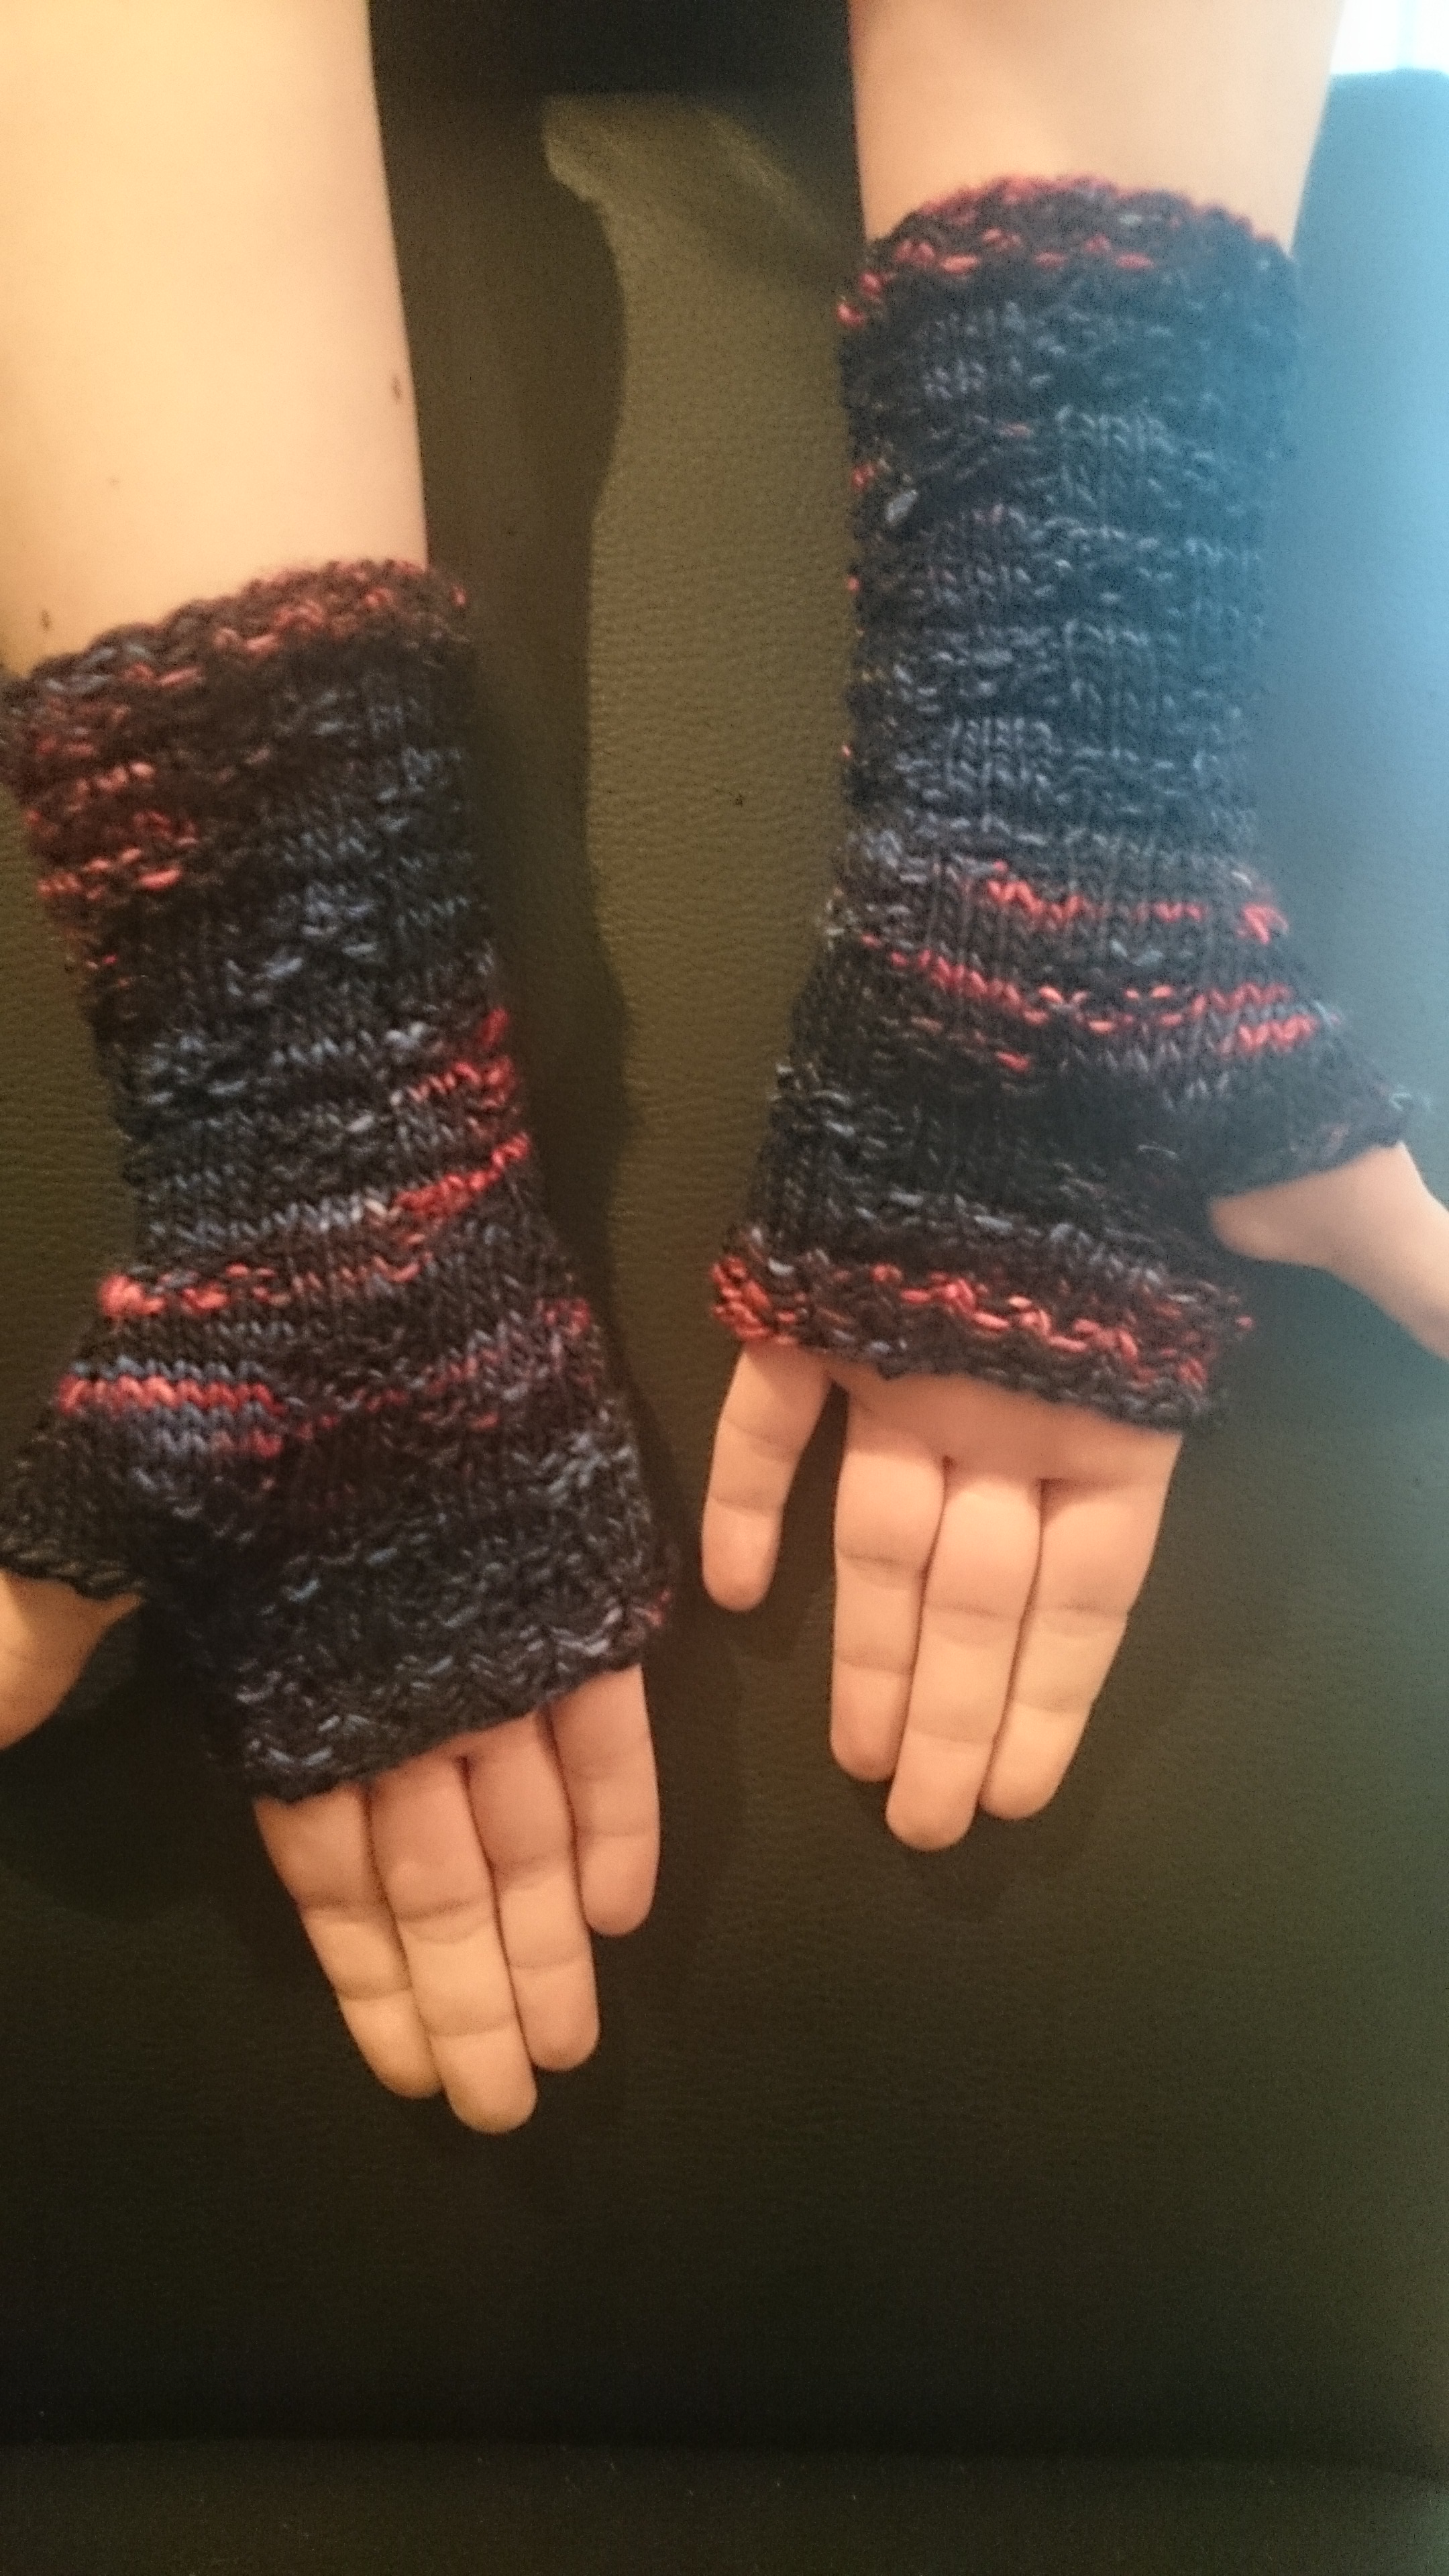
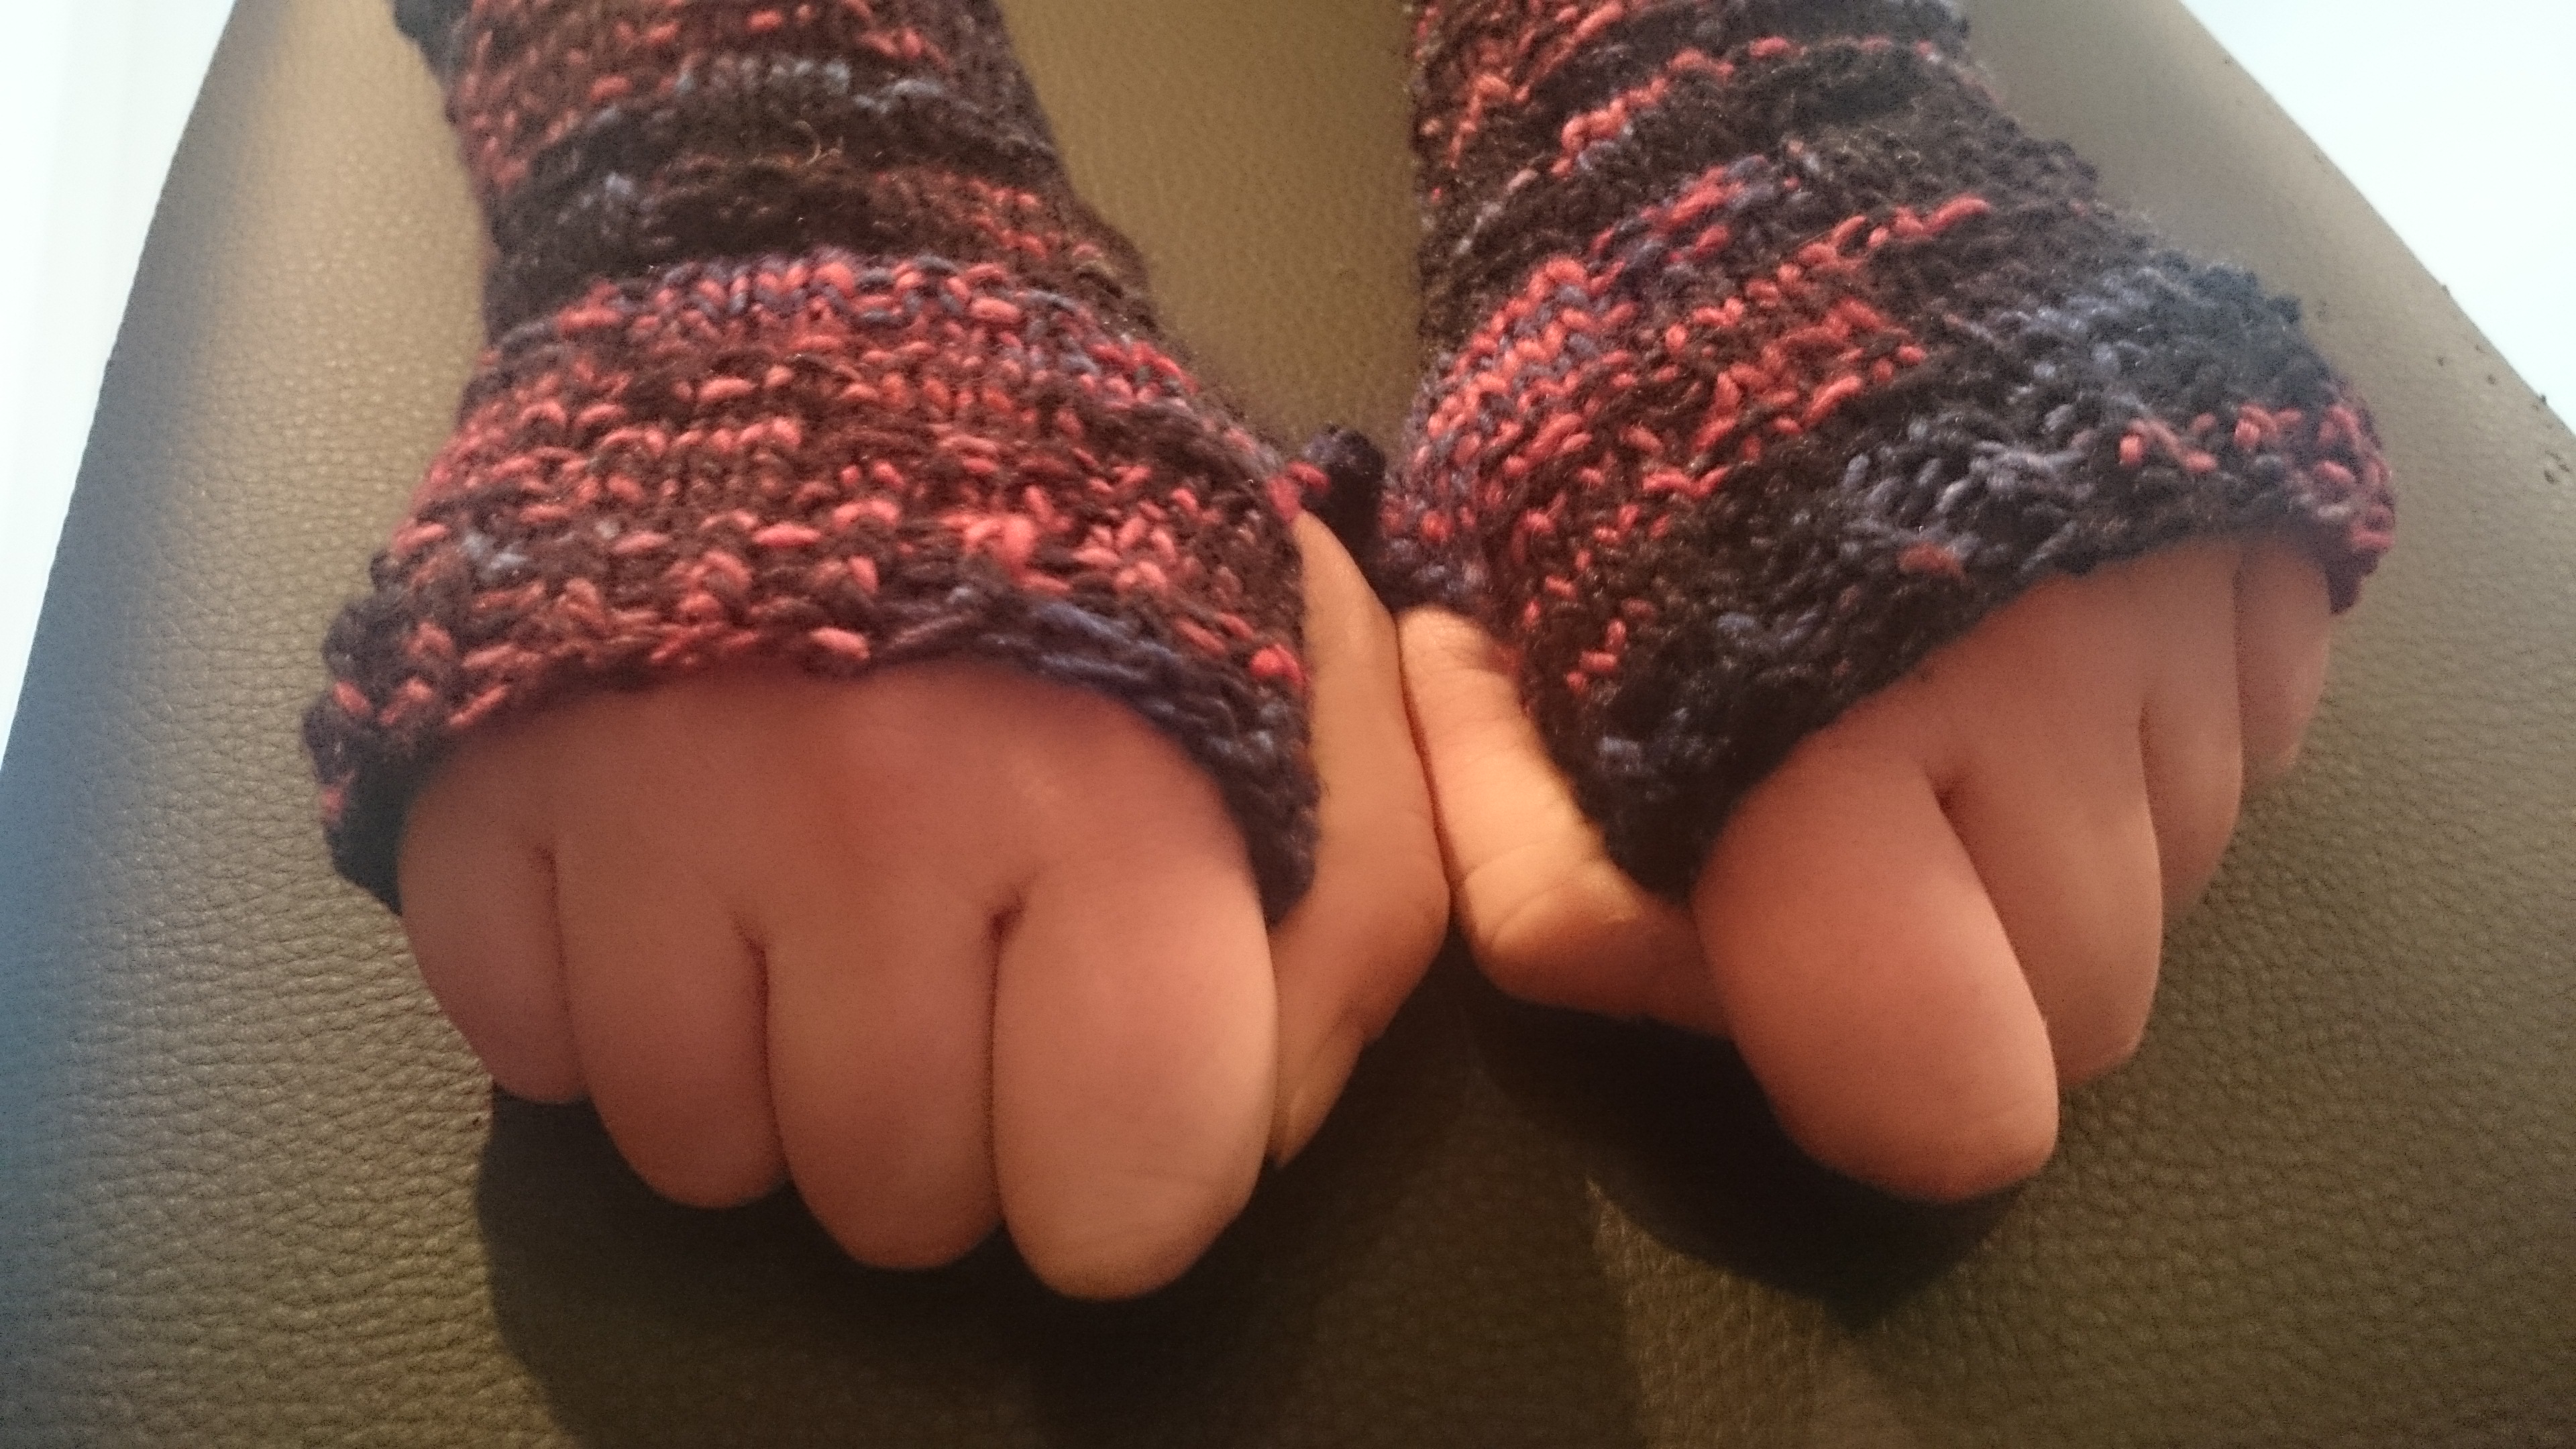
This weekend I had a visit from her and told her that there was still a hank left, so if she wanted to give it back or whatever. But instead, she asked for mittens. And because that’s a challenge, I have to accept, I promised them within 24 hours including making up a pattern for her and all. However, I now want to give that pattern to you as well, so that you can also have an instant gratification mittens experience.
So for these quickies you’ll need:
- Set of 3.5mm double pointed needles (dpn)
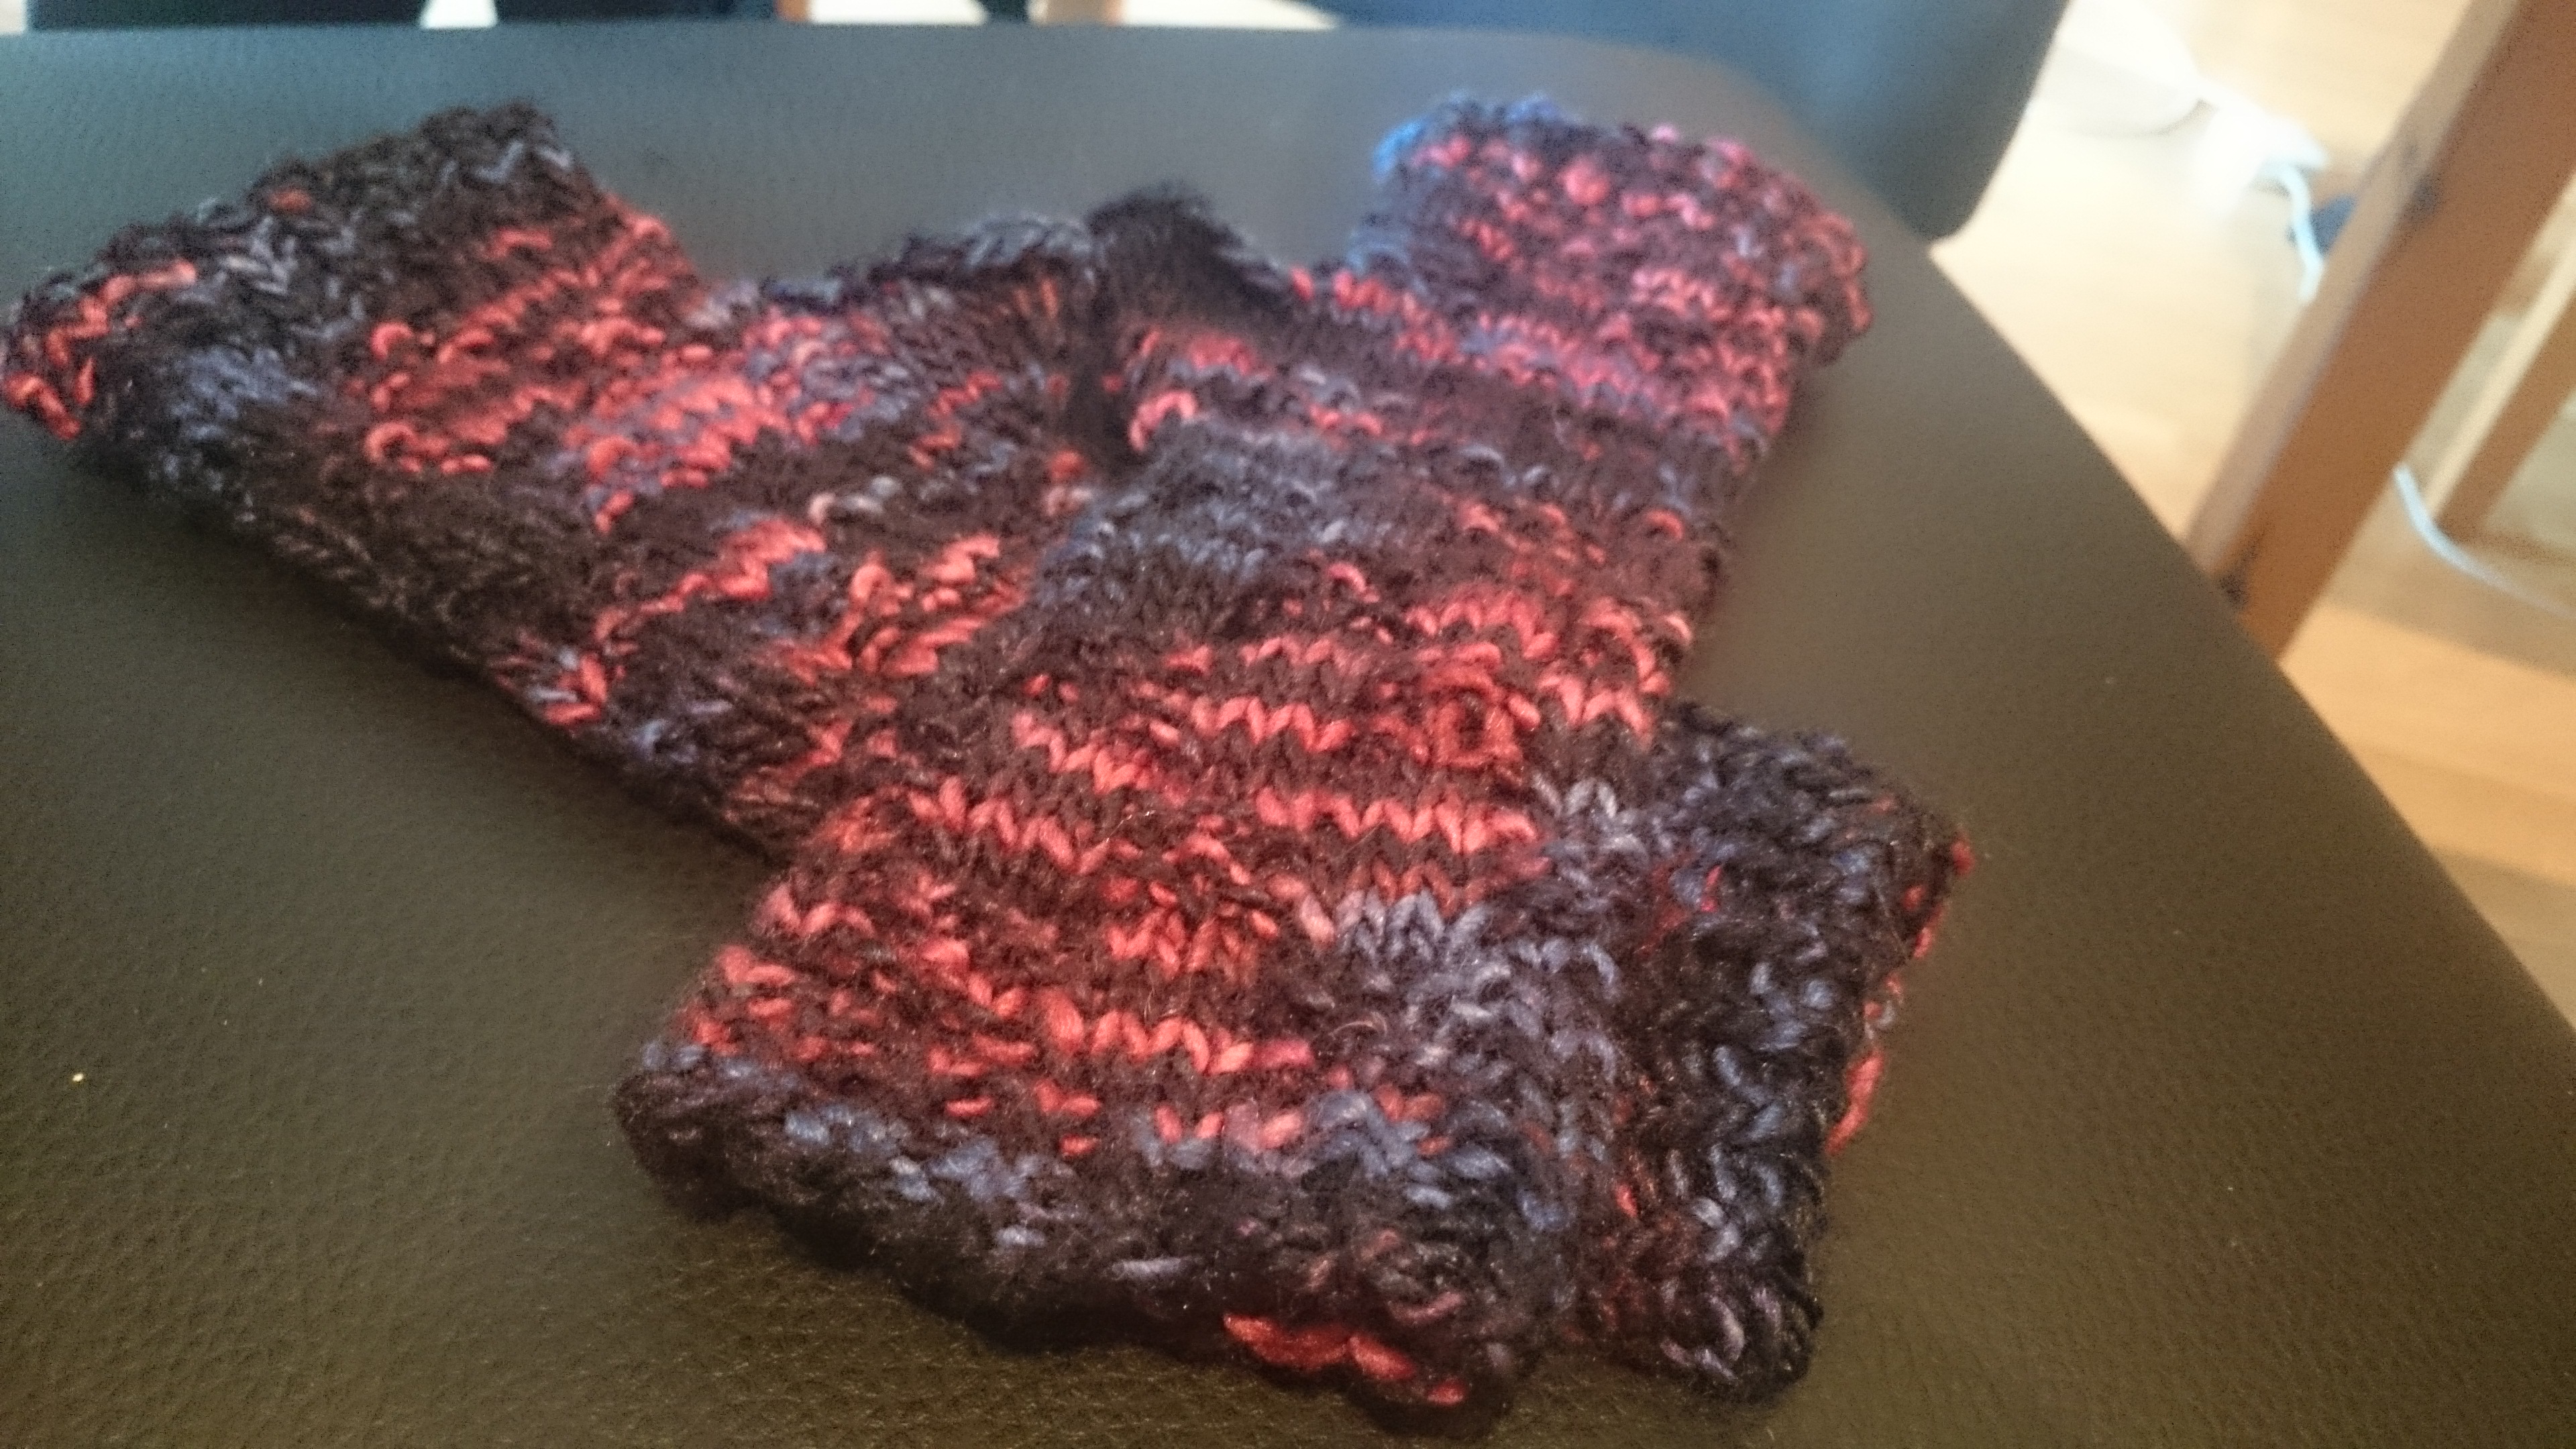
- 40g of DK yarn (If you want the tactile qualities of the fabric to be more visible, you might want to choose a yarn that is more evenly coloured, though)
- Stitch markers (if desired)
- Tapestry needle
Abbreviations:
- k – knit
- p – purl
- k tbl – knit through back loop
Pattern Notes:
- 1×1 rib – (k tbl, p) and repeat that all round
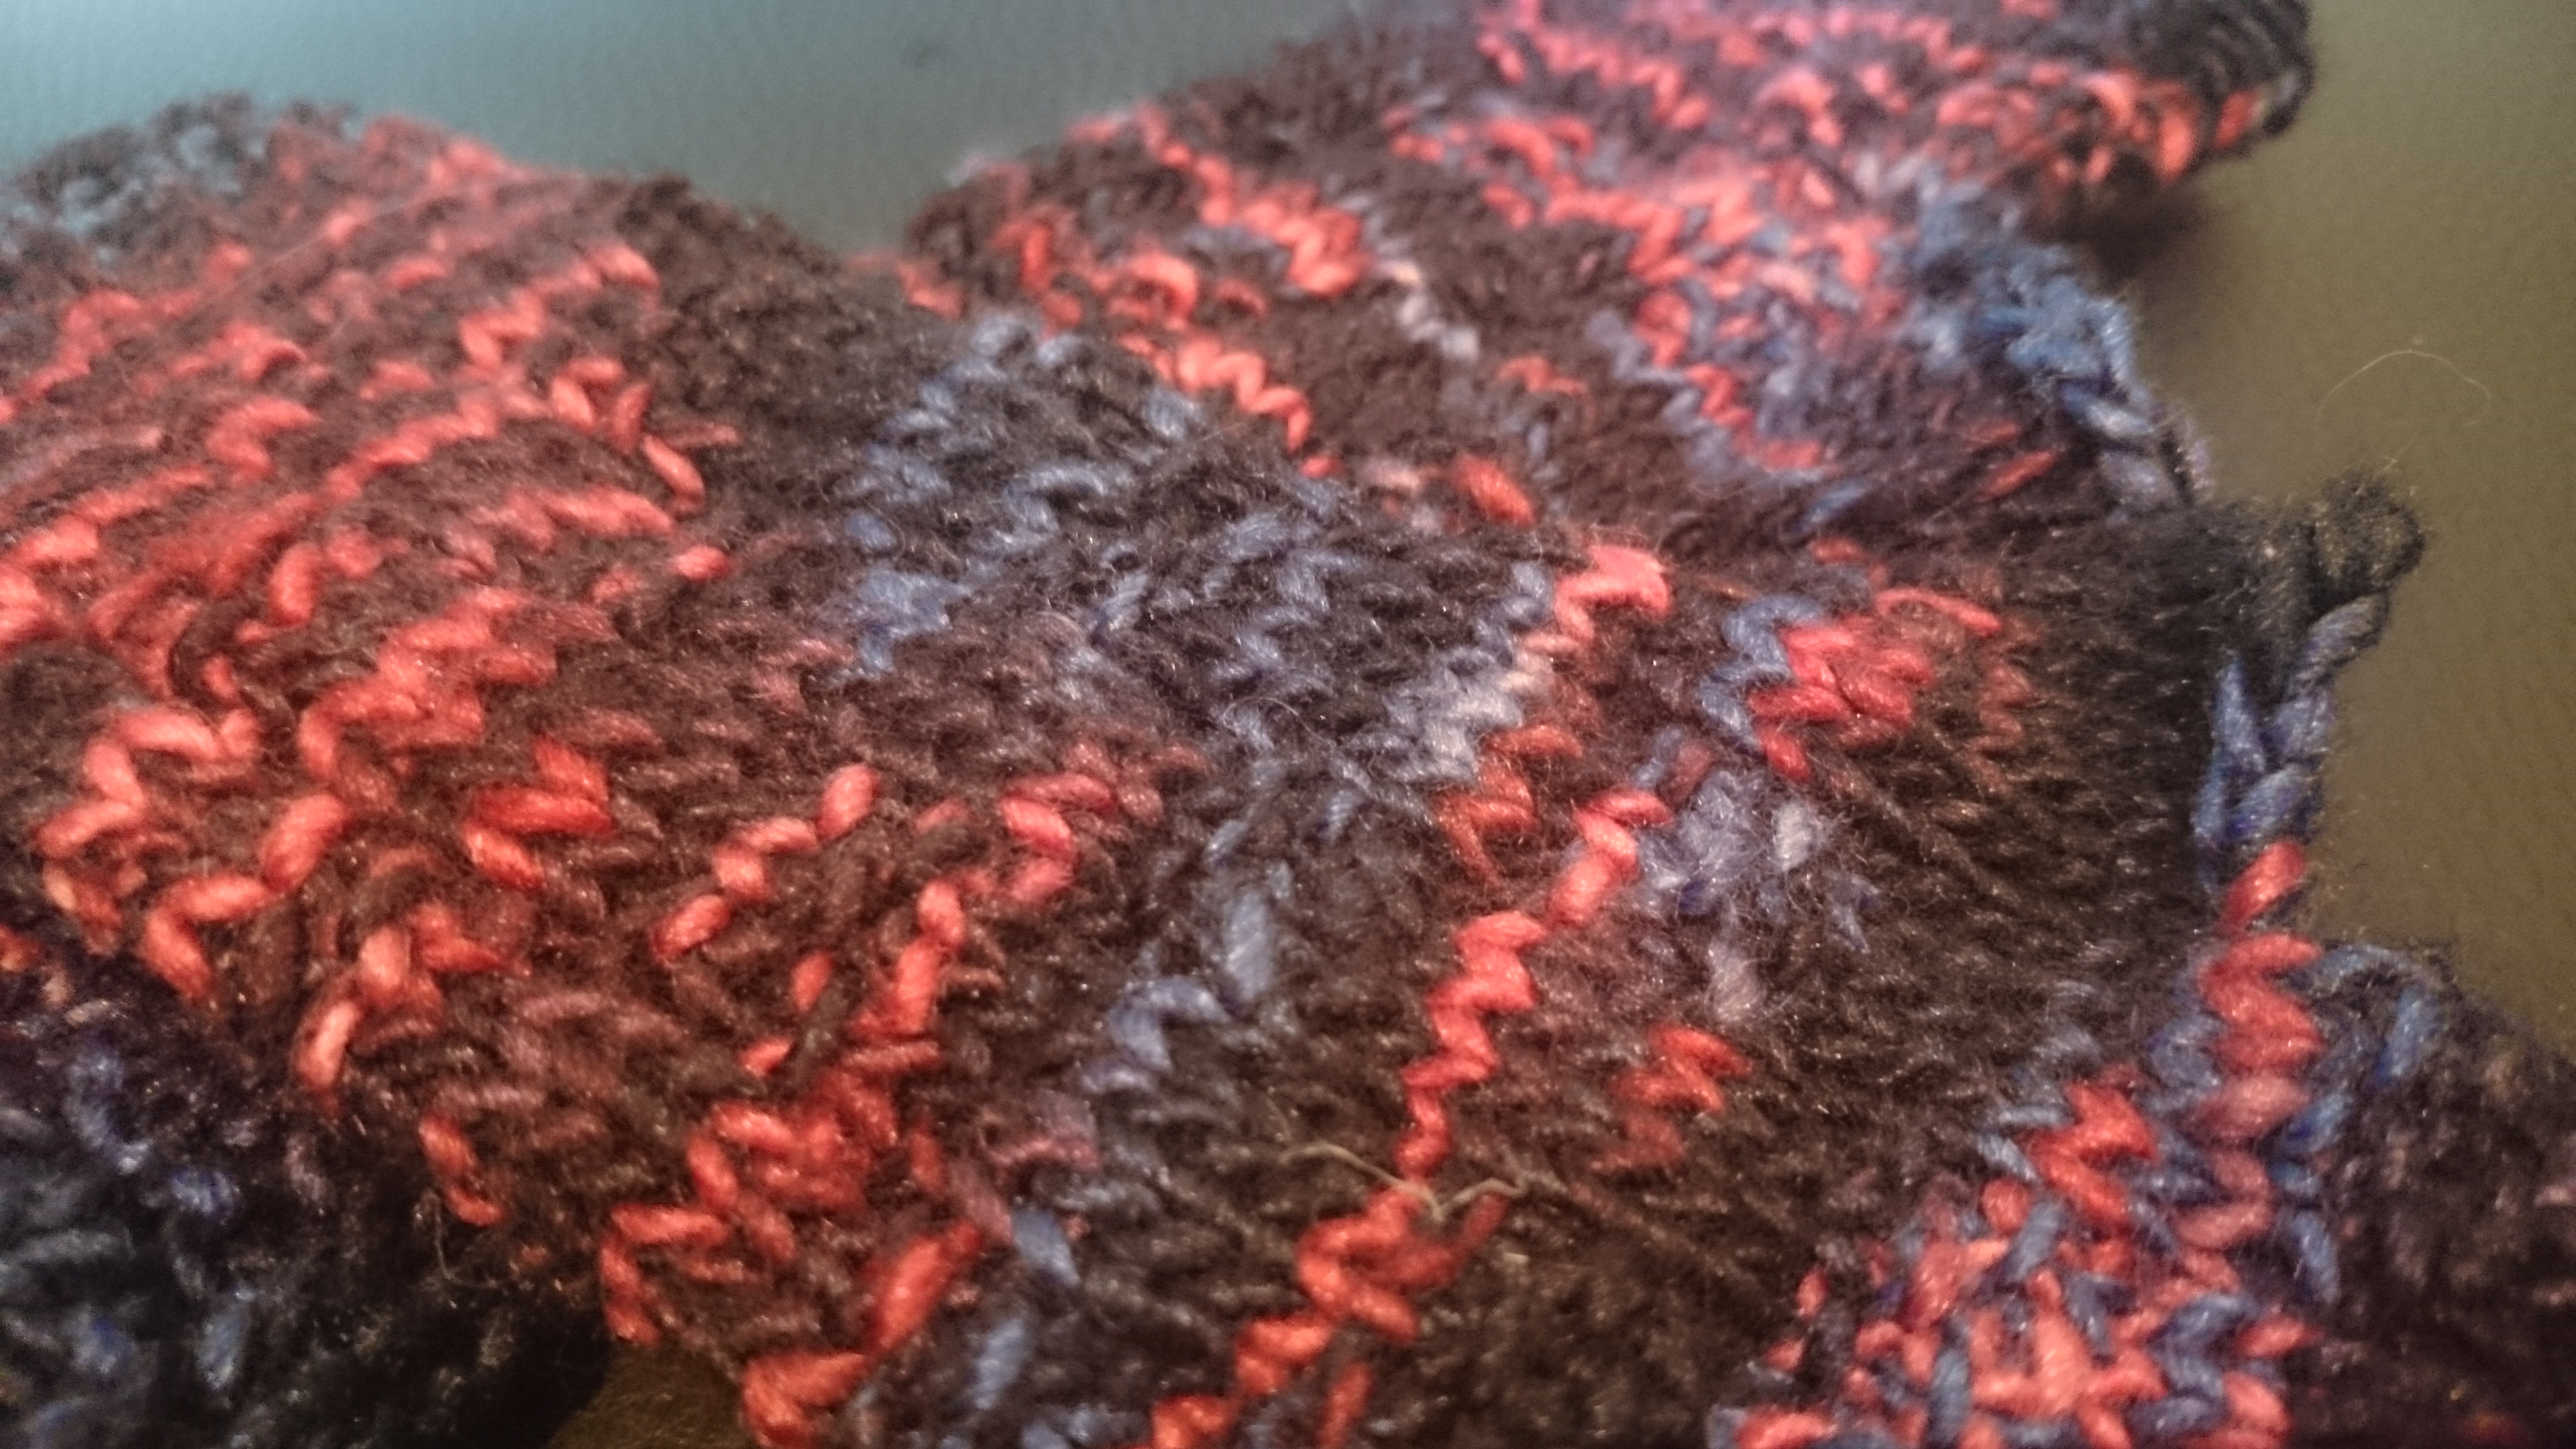
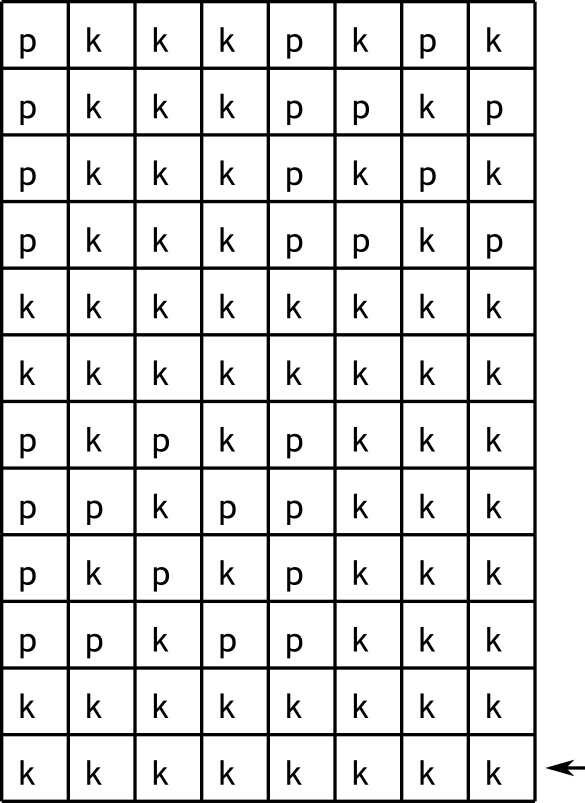
- flowery weave (Variation on the Basket Weave taken from the Potter Craft 400 stitches stitch dictionary) – do 12 rows as follows over a multiple of 8 stitches (or confer for a visual reference down below)
- k all stitches
- like row 1
- (k3, p2, k1, p2)
- (k3, p1, k1, p1, k1, p1)
- like row 3
- like row 4
- like row 1
- like row 1
- (p1, k1, p2, k3, p1)
- (k1, p1, k1, p1, k3, p1
- like row 9
- like row 10
How to do it (Finally!):
- Cast on 32 stitches and distribute on needles as desired; if you want a larger or smaller version, you can cast on 8 more or less and follow this pattern just having 8 stitches more or less in the end
- 1×1 rib for five rows
- 2.5 repeats of the flowery weave pattern
- in the next round (it’s a knit round) place stitch marker (if desired) after 7 stitches and then again after 2 stitches
- in the next round (still a knit round following the pattern), make one left and right from the two stitches between stitch markers (this is an increase round)
- Follow pattern for 2 more rows
- repeat increase round
- Follow pattern for 2 more rows
- repeat increase round and do so every second round until a total of 10 increase rounds have been worked; not that for the pattern to work, you will have to incorporate one of the added stitches on each side. The rest of the thumb is knitted flat.
- knit one round (this should coincide with a first round of the flowery weave
- next round: knit 8, bind off 18 added stitches loosely (I use this method, but only on every second stitch, to get the results shown in the picture) and knit rest of stitches
- from this round on you will finish this repeat of the flowery weave
- In order to tighten the connection at the thumb you might want to knit the edge stitches together with their neighbours on the left and right from one row under (If this needs further clarification, I am happy to provide a more detailed description, so please let me know in the comments.)
- when pattern repeat is finished, knit 2 more rows
- 1×1 rib for 4 rows
- Bind off all stitches as before
- Make a second glove
- Weave in ends
- Block if desired
- Be happy and proud!

I hope you have fun doing this pattern. If there are any questions or comments, please don’t hesitate to put them in, so that I can improve this pattern.