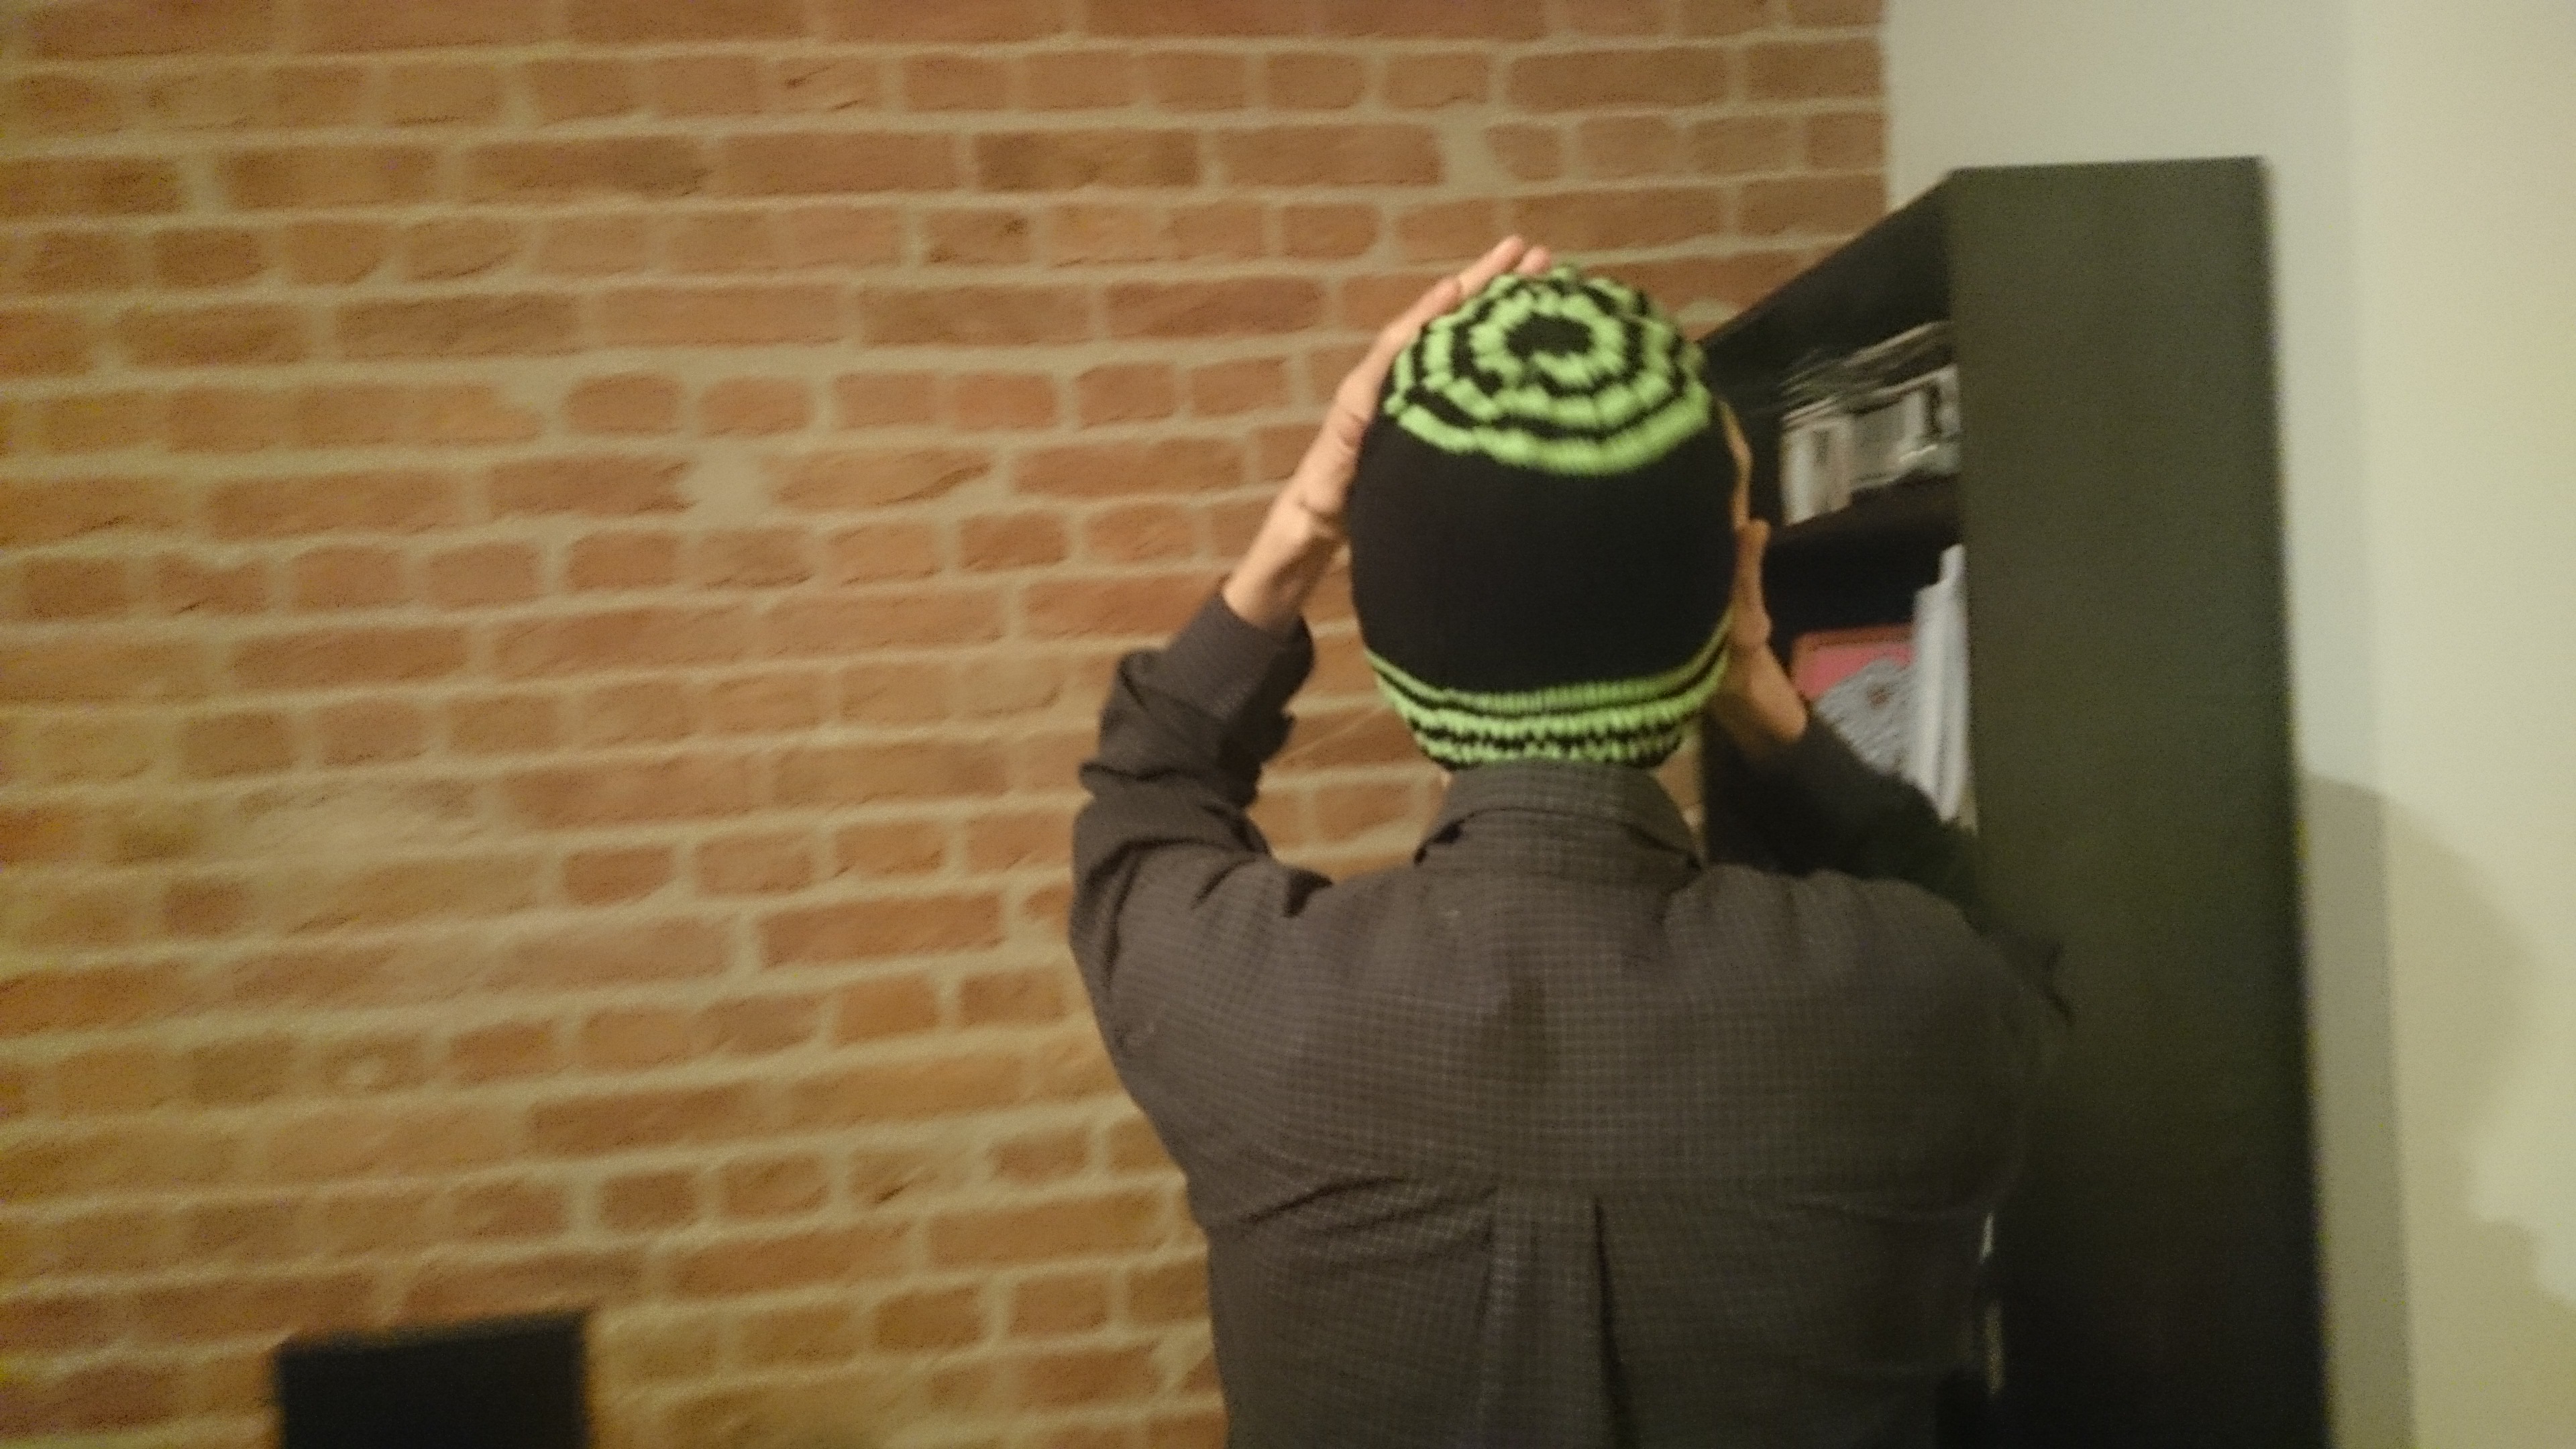
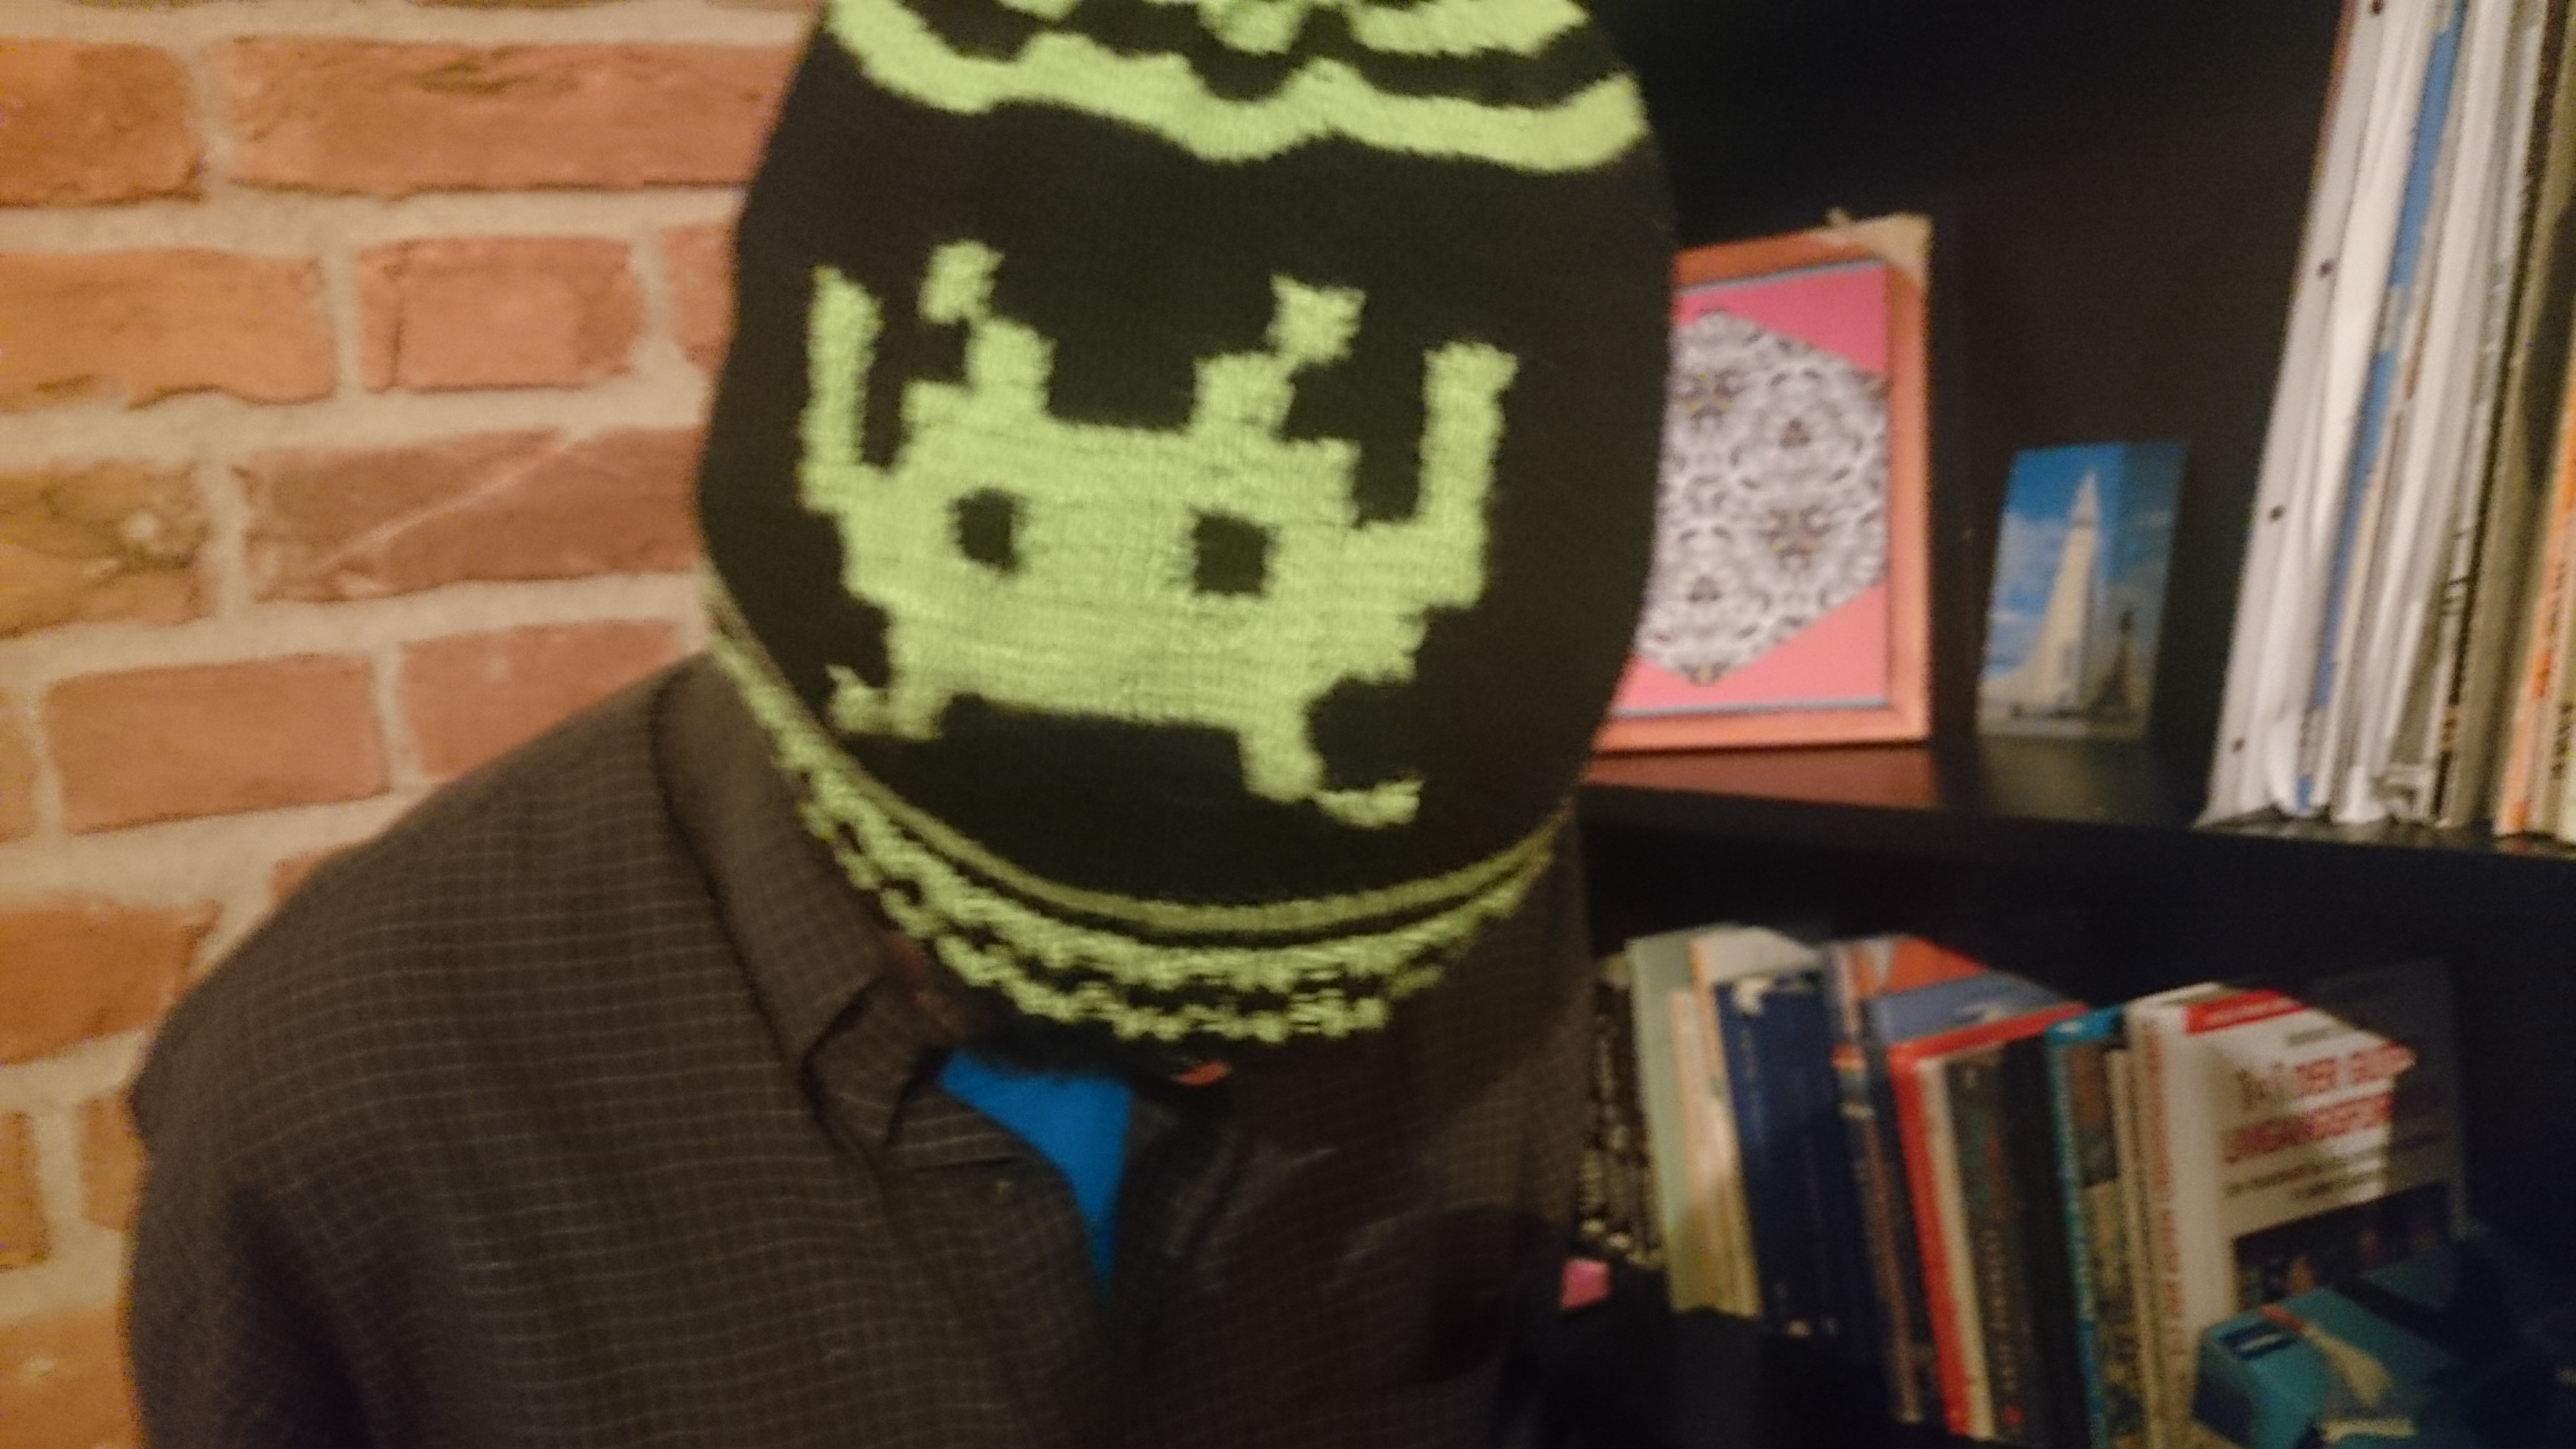
So I did the first Space Invader Hat, that I made a dozen pieces of and everybody was happy. But there is always someone, who want something different. In order to fulfil all needs brought towards me, I made this second hat. And I want to share the pattern with you folks. It is very similar to the original; only the middle part is changed. However, I give you the full list of steps again, so you don’t have to switch between references.

Materials you need:
- 3.5 mm double pointed needles (dpns) (or circulars for magic loop method)
- 2 balls of yarn (I used Lana Grossa Cool Wool for that project, but any sports weight will do) in different colours (I will use the actual colours used here to explain the pattern). You will only use up about half of the inserted colour (here: green).
- stitch markers
- tapestry needle

Abbreviations (a.k.a. stitches you should know):
- k – knit
- p – purl
- ktbl – knit through back loops
- k2tog – knit two together
- stb – switch to black
- stg – switch to green

Techniques you should know (because I will not explain them; there are already so many helpful videos and tutorials out there!):
- intarsia
- intarsia in the round
- how to switch colours effectively horizontally and vertically
Pattern Note:
- 2×2 rib: 2ktbl, 2p (throughout the round)
Steps:
- with black: cast on 120 stitches
- distribute stitches on needles (if you use dpns) as you like, join the round, being careful not to twist
- work 3 rows in 2×2 rib
- stg, repeat step 3
- stb, repeat step 3
- repeat step 4
- stb, k 3 rows
- stg, k 3 rows
- repeat step 7, k 3 more rows
- k48, stg, k3, stb, k18, stg, k3, stb, k48 (you start intarsia in the round for the end of the round)
- p48, stg, p3, stb, p18, stg, p3, stb, p48
- repeat step 10
- p51, stg, p3, stb, p12, stg, p3, stb, p51
- k51, stg, k3, stb, k12, stg, k3, stb, k51
- repeat step 13
- k51, stg, k18, stb, k51
- p51, stg, p18, stb, p51
- repeat step 16
- p48, stg, p24, stb, p48
- k48, stg, k24, stb, k48
- repeat step 19
- k45, stg, k9, stb, k3, stg, k6, stb, k3, stg, k9, stb, k45
- p45, stg, p9, stb, p3, stg, p6, stb, p3, stg, p9, stb, p45
- repeat step 22
- p45, stg, p3, stb, p3, stg, p18, stb, p3, stg, p3, stb, p45
- k45, stg, k3, stb, k3, stg, k18, stb, k3, stg, k3, stb, k45
- repeat step 25
- k45, stg, k3, stb, k6, stg, k3, stb, k6, stg, k3, stb, k6, stg, k3, stb, k45
- p45, stg, p3, stb, p6, stg, p3, stb, p6, stg, p3, stb, p6, stg, p3, stb, p45
- repeat step 28
- p51, stg, p3, stb, p12, stg, p3, stb, p51
- k51, stg, k3, stb, k12, stg, k3, stb, k51
- repeat step 31
- k 6 rows
- stg, k 3 rows
- stb, k 3 rows
- stg, (k13, k2tog) around, k 1 row, (k12, k2tog) around
- stb, (k11, k2tog) around, k 1 row, (k10, k2tog) around
- stg, (k9, k2tog) around, k1 row, (k3, k2tog) around
- stb, (k2, k2tog) around, k1 row, (k1, k2tog) around
- thread yarn twice through remaining stitches and pull tightly
- weave in ends
- set your intarsia straight
- block if wanted
- done!